Adore Beauty Pty Ltd

Friday, 27 June 2014

How to do a Socket Line eye make up

I love this look it is super classic and goes for any occasion and I mean anything a beach wedding, a night out, a lunch with friends, going to work.  You can make this as natural as you like or add drama by making your crease colour that little bit more defined or keeping it natural and finishing the look with a bright lip.  This is my go to eye make up look when I'm wearing a red lip. It's a two colour look and I'm sure most of you have two neutralish eye shadows?

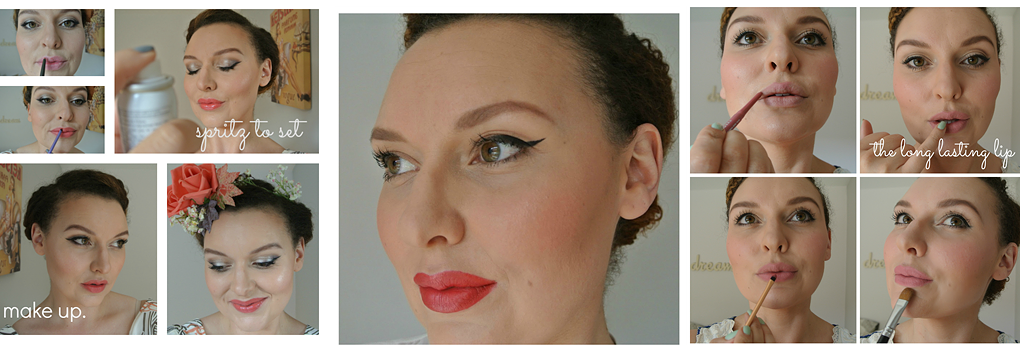
Here's the finished look...


Firstly you want to prep your eyelids to make sure the make up lasts you really don't want a big crease in your eyelid with this look.  I used the MAC paint pot in Soft Ochre.  You can use a cream shadow or even your concealer lightly over your lids this cancels out any colour and gives a good base.  I'm using the Urban Decay Naked Palette 2 but you could use any shades you have as long as one is light and one is darker.  Sweep your light shade right over the lid into the inner corner and over the brow bone.  I have chosen 'Bootycall' as it has a little bit of shimmer through it but this is also a lovely look with all matt shadows.


Now time to find your crease-think about the brush size you are using...If you have small eyes you will need a small brush go for a tapered brush if you can this is the MAC 217.  Dip your brush directly into the darker shadow (I'm using Tease) so you just have the product right on the tip of the brush, lean your head back and look into the mirror, put your brush into the outer corner end of your crease (not right into the outer corner of your lashline check back on my eye anatomy pic here) then do a little curved wind screen wiper motion with your brush. As well as back and forth do tiny little circles with the brush in the same wiper motion.  Go lightly to start out then you can add more shadow if you want a bit more depth.  Don't go too far in on each side there should be a gap between the end of your crease and the start of your lash line as this is what keeps your eye looking wide awake and open.  You could also use a smaller brush with an even darker shadow if you want it more precise.  Then, as always, keep on blending in the same motion until you are happy with it.


This look generally needs some lashline definition to make it really work. You can either do that with a matt black shadow on an angled brush to really push and smudge into the lashline or go for a full on gel liner (I'm using MAC Blacktrack) but the L'oreal and Maybelline Gel liner is also good.  For a really precise winged liner to finish this look off follow the steps detailed in my winged liner lesson here. I also like to add a kohl liner to the upper water line (this is underneath your lashline) as it's keeps everything nice and dark and defined...this may take practice!  Add lashings of mascara to curled lashes and you are good to go.


Don't forget the rest of your face...what would you like to see on the blog next ladies? Skin, Lips, Brows, Contour ???

{More on how to do your own make up...}


or if you are Melbourne based and would like to book and one on one lesson or special occasion make over read more about my make up services here

{shop the look}


Wednesday, 25 June 2014

Storyboard- When Vintage Becomes Modern

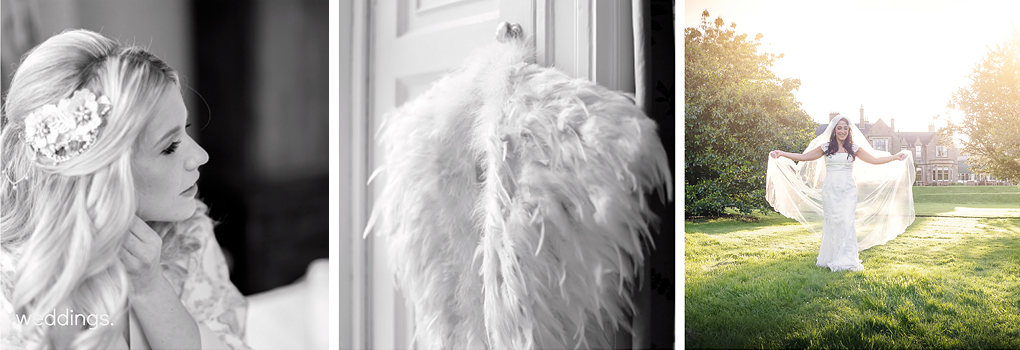
This beautiful wedding didn't just take inspiration from times gone by it took vintage and made it shiny, modern and gorgeous.  The bride wore her mums redesigned 1979 lace dress, had her grandmothers pearls incorporated into her headpiece and was proposed to with her fiancĂ©es grandmothers engagement ring.  The purple and cornflower blue flowers provided a burst of colour and freshness and even the Scottush rain didn't stop them getting outside to the castle grounds.  This is a wedding made with memories and love x

Read the full story of Louise's wedding dress by Amy Hughes on www.brawbrides.com.


Images by http://greenweddingphotography.co.uk


Thursday, 19 June 2014

Get your SPF sorted!!


Sorry, didn't mean to sound bossy (well sort of) so here in Sunny Scotland we have had four days straight of good weather including actual proper sunshine!!  

Are you using sunscreen?

This is my facial sunscreen of choice I always use SPF 50+ on my face when I am going to be in the sun yes this generally means my face is lighter than my body but I would prefer this than a wrinkled face and not to mention age spots (which by the way doesn't only happen to older ladies we can all be susceptible).  A little bit of colour makes us all feel better but please protect your skin.  You can always use a bronzer to even up your colour.  

A quick rundown on the Soap and Glory Sunshield Superfluid, it cost me £15 from good old Boots, you can wear it under make up well provided you keep the application light.  Too much of the sunscreen is going to make your face slip.  The texture is very light and sheer for an SPF. 

I apply from the very top of my forehead downwards covering the areas most likely to pick up the sun first that way I know those areas are protected eg, forehead, nose, tops of cheekbones then I work the rest of the product over the rest of my face.  It gives a nice dewy finish once the make up is on top and it keeps the shiny red and flakey noses at bay!! If you really don't like a dewy finish apply powder over the top of your foundation to keep things looking a bit more matt.


Tuesday, 17 June 2014

Storyboard- Effortless Elegance


With floral blooms and damask backdrops, this wedding is all about class.  Soft vintage pink roses accessorised with classic pearls made up the beautiful bouquet and adorned the pink & ivory three tier cake.  A soft muted colour palette with just the right amount of bling in the brides shoes.  The elegance is effortless in this beautiful wedding day and lets the romance shine through. 

Saturday, 7 June 2014

Destination weddings are fun...

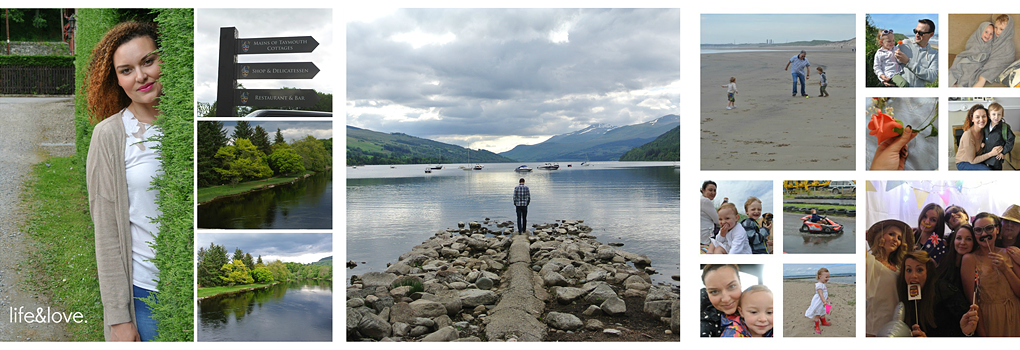
I jumped at the chance to head back to Pitlochry where my hubbie and I enjoyed our gorgeous log cabin honeymoon some 5 years ago.  Nicola who I had done bridesmaid make up for at Suzi's wedding back in 2011 had planned her wedding for the beautiful Atholl Palace so we packed up our weekend bags and headed to one of the most gorgeous parts of the country I have seen in a while. The Bluebell fields were astounding.


We stayed at the lovely Riverwood in Strathtay ran by Alf & Anne the food was amazing (Anne has earned her cooking stripes at the Nick Nairn School of Cookery), the decor was divine and the peace and quiet was just heavenly...I fell asleep to the calming sounds of the River Tay.  I highly recommend a visit here our room was serene with plush linens and driftwood furniture...I actually could have moved in.  We even had a little red squirrel join us out on the lawn while we had breakfast.  After Nicola's wedding Gary and I enjoyed a bottle of bubbles river side the sun was shining and the view was glorious.
Pre-wedding breakfast was yummy I also had pancakes and crispy bacon but was too busy eating to take a picture!


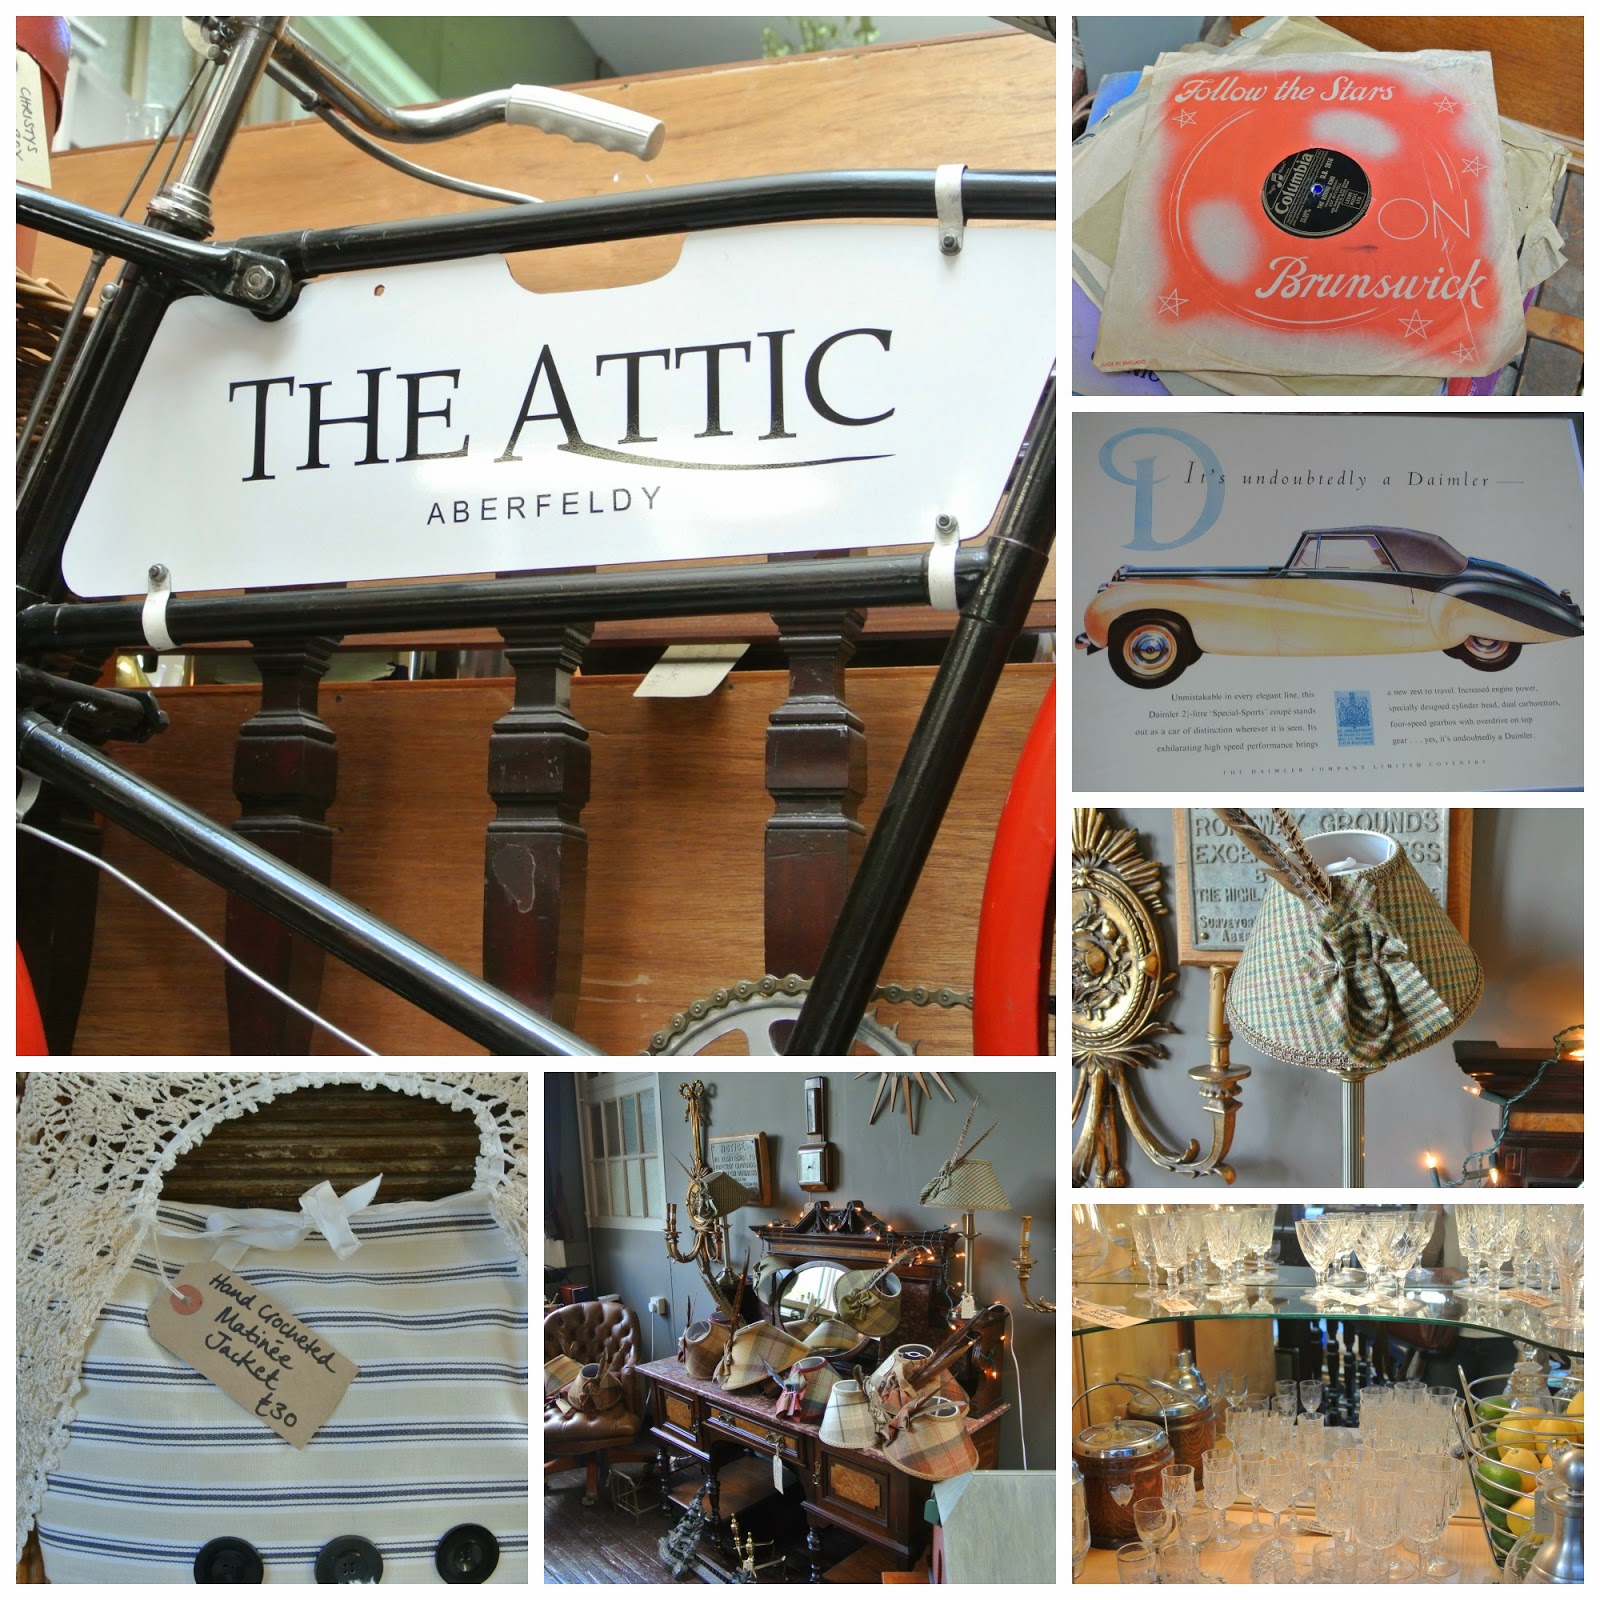
We decided to go a bit further a field and headed off to Aberfeldy for a look around and it was gorgeous!  First we popped into a minefield of gorgeous old and vintage items all clustered around the balcony level of one of the high street shops.  The Attic was such an interesting shop to have a nosey around I loved the mis-match collection of peices there was just so much to look at I could have spent an afternoon in there.  So much history in one place...my favourite was the bureau full of vintage glass wear.


We nipped into Homer at the Watermill where I fell in love with just about everything.  I particularly loved the big pieces of vintage furniture but Gary quickly steered me towards the lovely fairtrade and somewhat slightly daintier mementos.  I found a gorgeous letter 'H' tag stamped on wood with a leather tie perfect for our key rack.  I could have bought the shop.  I also loved their motto "Make the everyday beautiful".


Back into the car we drove a bit further a long to Kenmore.  The views were amazing.  We spent quite some time on this beach with our two wee dogs when we were here for honeymoon and Gary spent a bit of his childhood weekends in Kenmore so we felt quite at home here.

Across the bridge and a small walk over to The Mains of Taymouth and we came accross another wedding party.  This really would be a beautiful place to get married...we didn't want to seem too 'wedding crasherish' so took a few snaps and headed back to the car! 


 Last stop we had a wander through the gates of Taymouth Castle...looking for a castle which we didn't actually find in the end but we saw some beautiful scenery! The Taymouth Marina is also definitely worth a visit and again some fab photo opportunities.


If you haven't been up this neck of the woods for a while or you are looking for somewhere for a weekender or even a gorgeous place to get married Perthshire has a lot to offer xx


Sunday, 1 June 2014

Introducing 'storyboard'

I'm introducing a new feature to the MOL blog called storyboard...we are so privileged to get an insider peek into our beautiful brides wedding days and not only do we love wedding hair & make up we love every little wedding detail.  We hope you enjoy and are inspired.


"Our Promise" 

Becky is radiating all things youthful and fresh. Just like the wilderness around her her skin is radient and a fresh pink lip compliments her spring bouquet beautifully. With purple & soft parmaviolet hues this colour scheme is picked up in the grooms shirt and cravat it's gentle yet impactful. The bride's classic lace trim veil frames her delicately jewelled gown beautifully as does the spring backdrop.

Photography by AT-Photo Ltd Wedding Photography
Ax