Mirror, Mirror on the wall...who has the most fabulous eyebrows of them all?
There is so much choice for eyebrow shapes out there and when you get yourself the right tools and with a bit of practise you can really choose what shape you are going for and use it as a new way to change your look up. You do need to be mindful of your own natural shape for example my brow shape isn't naturally as straight as Audrey's but its amazing what you can do I often do this for an evening look and is one of those subtle add ons you can do to take your look from day to evening. Perfect for those Christmas parties!
{brow inspiration}
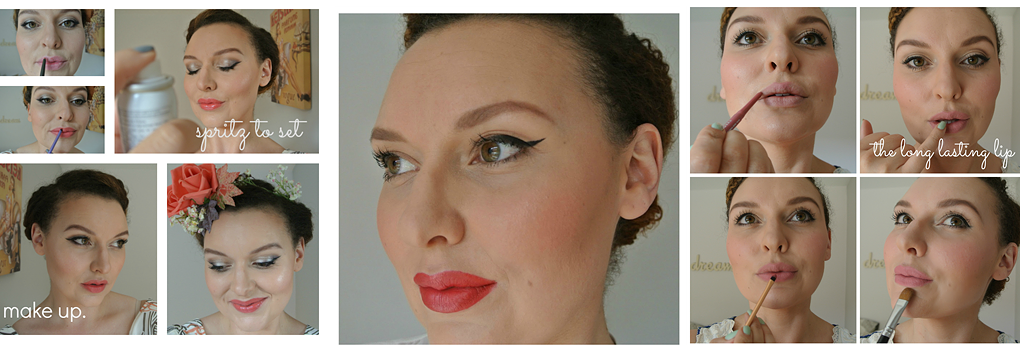
{how to}
1. Take your spoolie (or clean mascara wand) and brush your brows up all the way along, if you have naturally bushy brows (lucky you!) you can start brushing the tail down towards your ear instead of up.
2. Perfect the arch- dip into your product and draw quite a sharp but small line outwards at the top of your brow (we are going for a slight angle outwards and not upwards as we are not trying to do angry brows) work down with whats left on your brush in small strokes down through the depth of the brow. If you feel it's looking too pointy smooth your finger over the outer point which will gently blend it out.
3. Do the tail- from the outwards arch work (with small strokes) down the tail. It's up to you how far you bring the tail but bear in mind the longer you go it will start to drag the look of your eye downwards (Audrey has quite a short tail)
4. Back to the start- work the product through the main part of the brow but still start at the arch and work forwards, your brush strokes as you get closer to the start should be moving upwards but still holding the brush at a horizontal angle.
5. Add a little bit of concealer above the brow for a lifting effect and on the brow bone as a highlight.
6. Optional- finish with a
brow gel to keep it all in place and define hairs.
note...you don't need to keep dipping back into your product at each stage just keep stepping back and assessing.
{The finished look}
{tools & products}
- If you are using a shadow or gel you will need an angled brush, stiff bristles are better.
- A spoolie (if you have a used but clean mascara wand you can use that) or if you fancy a splurge I like this one by Blinc as it's double ended
- You can also get eyebrow pencils that have the spoolie end like this fab one by TOPSHOP if you are using a pencil hold it at a horizontal to your brow.
- I personally prefer shadow here I am using espresso by MAC.
Do you have a brow icon???


