My last lesson on winged eyeliner focused on using a gel liner and that handy little sellotape trick if you have mastered that and feel like moving onto a free hand version of liner use this guide below to keep you on the right track.
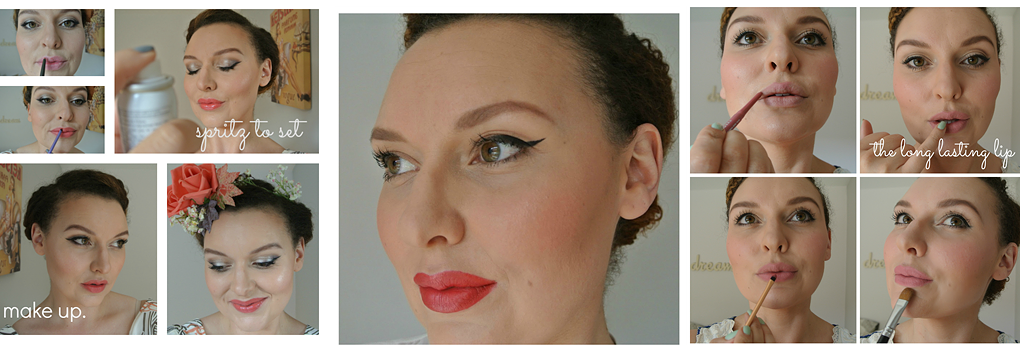
I'm using the L'Oreal Super Liner which I have been really impressed with. The nib is nice and thin which makes for a thin, neat line which means you can build up thickness if required.
Follow the steps below:

- Hold the pen horizontally and very tight to your lashes (make sure you are using the long side of the pen) I like to start about three quarters of the way along (this helps to keep the eye look open and wide)
- Slowly and carefully draw small strokes along the lash line (keeping tight to the lashes) if you need to pull your eyelid up slightly to get to the lashline go ahead and do this (you don't want any gaps)
- Once you have your horizontal line along the lash line pull the line upwards and out (imagine your lower lashline being stretched up toward your brow as your guideline)
- Once you are happy with the length start from the point and bring it back down at an angle to make a (kind of) triangle shape
- Fill in the gap so it's all black
Things to remember:
- The shape of your liner and triangle all depends on your eyeshape as you go step back and gauge the shape your are making with your eyes open.
- Don't forget you can always use a cotton bud and eyemake up remover if you need to perfect the line.
- I usually finish off my liner with a sweep of kohl liner under the lashes in the upper water line this is what keeps everything nice and dark.